Bubbling epoxy isn't bad luck — it's a fixable problem with a clear cause. Here's what went wrong and how to make it right.
You spent money on an epoxy floor — maybe you did it yourself, maybe you hired someone — and now it’s bubbling, lifting, or peeling up in patches. It’s frustrating, and it raises an obvious question: why did this happen, and what do you do now?
The good news is that epoxy floor failures aren’t mysterious. They almost always trace back to one or two specific causes, and once you understand them, the fix becomes a lot clearer. Whether you’re trying to decide between patching it or starting over, or you’re just trying to make sure the next installation actually holds, this guide will walk you through it honestly.
Bubbling in an epoxy floor coating almost always comes down to one of two things: moisture escaping through the concrete, or a surface that wasn’t properly prepared before the coating went down. Sometimes it’s both. The coating looks fine at first, then a few weeks or months later — especially after a Connecticut winter — the blisters appear and the floor starts to lift.
Concrete is porous. Even when it looks dry, it can be pushing moisture vapor upward from the ground below. When a coating traps that vapor, pressure builds underneath until the bond breaks. That’s what creates the bubbles. It’s not a product defect. It’s a physics problem that a proper installation process is specifically designed to prevent.
Hartford County gets about 51 inches of rain per year — roughly a third more than the national average. Add 38 inches of average annual snowfall, winter overnight lows that regularly drop into the teens and low twenties, and you have a climate that puts serious stress on concrete slabs and any coating applied to them.
The freeze-thaw cycle is the part most people underestimate. When temperatures swing from 21°F in January to 84°F in July, concrete expands and contracts significantly. A coating that isn’t bonded properly — or isn’t flexible enough to move with the slab — will crack, lift, or delaminate. This is why floors that survive the first summer sometimes don’t make it through the first winter.
Below-grade slabs are especially vulnerable. Many homes in West Hartford, Glastonbury, Simsbury, and the surrounding suburbs were built in the 1940s through 1960s, well before modern vapor barrier standards existed. The concrete in those garages and basements is older, more porous, and sitting over clay-heavy Connecticut soil that holds moisture and pushes it upward through the slab year-round. A floor that might perform adequately in a drier climate can fail repeatedly here without the right preparation and moisture mitigation underneath it.
Road salt compounds the problem. Vehicles driving in from I-84, I-91, and Route 44 track deicing chemicals into garages throughout Hartford County all winter long. Those chemicals are corrosive to concrete and to inferior coatings. A floor that wasn’t installed with chemical resistance in mind will show it.
None of this means epoxy can’t work in Hartford County — it absolutely can. But it does mean the installation has to account for these conditions specifically, not just follow a generic process designed for a different climate.
Consumer-grade epoxy kits from big-box stores rely on acid etching to prepare the concrete surface. Acid etching can clean the surface, but it doesn’t create the mechanical bonding profile that epoxy needs to grip properly. It leaves behind residue, doesn’t open the concrete’s pores adequately, and gives the coating nowhere to lock in. The result looks fine on day one and starts failing within a season or two.
Professional installation uses diamond grinding instead. Diamond grinding removes weak surface layers, old sealers, and contaminants, and it opens the concrete’s pores in a way that creates a real mechanical bond. It’s the difference between pressing tape onto a dusty wall and pressing it onto a clean, slightly rough surface. One holds. One doesn’t.
The other issue with DIY kits is product quality. Consumer-grade epoxy has a lower solids content and thinner film build than the commercial-grade systems we use. Even if the prep work were identical, the product itself would wear faster, resist chemicals less effectively, and bond less reliably. The floor might look similar on day one, but the performance gap shows up over time — usually right after the first hard winter.
If you’ve already been through a DIY failure, you already know this. The question now is whether to patch it or redo it properly, and what “properly” actually means.
Want live answers?
Connect with a American Poly Floor expert for fast, friendly support.
Not every failed epoxy floor needs to be torn out completely. But patching isn’t always the right answer either, and applying new coating over a failed one almost never works — it just delays the same failure by a few months.
The decision comes down to two things: how widespread the damage is, and whether the root cause has been addressed. If the bubbling is localized to one area and the cause was something specific — like a spill or a surface contaminant — a targeted repair can work. If the failure is widespread, or if moisture vapor is the cause, patching treats the symptom without fixing the problem.
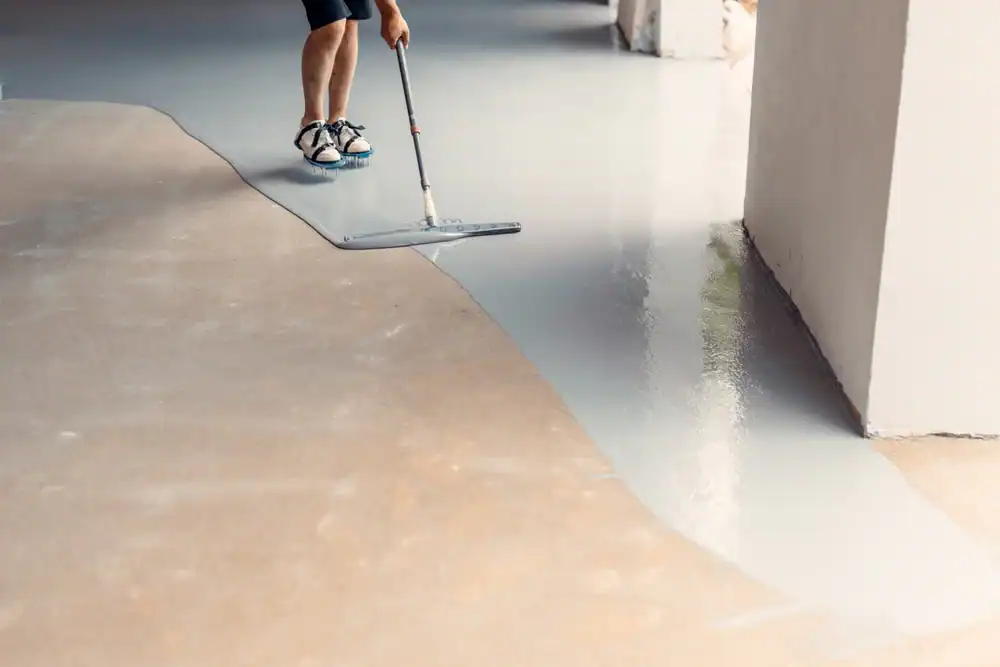
A patch repair makes sense when the failure is isolated to a small area, the surrounding coating is still well-bonded, and the root cause isn’t moisture vapor coming up through the slab. In those cases, grinding out the damaged section back to bare concrete, addressing whatever caused the failure, and recoating that area can produce a durable, lasting result.
The problem is that most homeowners in Hartford County who call us after a floor failure are dealing with something more widespread than a few isolated spots. When moisture vapor is the cause — which it frequently is in our older housing stock — the vapor doesn’t stop at the edges of the visible damage. It’s moving through the slab across a larger area, and new bubbles will form adjacent to any patch you apply if you don’t address the vapor transmission underneath.
This is why a professional assessment matters before you decide anything. The visible damage on the surface tells you something went wrong, but it doesn’t always tell you why or where. Moisture testing — using industry-standard methods that measure vapor emission rates and in-slab humidity — gives you an actual answer rather than a guess. Without that data, you’re making a significant repair decision blind.
If the assessment shows that moisture is the issue and it’s affecting the slab broadly, the right path is usually full removal of the failed coating, application of a vapor barrier system, and reinstallation with a commercial-grade product. It costs more upfront than a patch. It costs far less than patching, watching it fail again, and starting over a second time.
A professional epoxy floor installation that’s built to last in Hartford County follows a specific sequence, and skipping any step in that sequence is how failures happen.
It starts with diagnosis. Before anything goes on the floor, the concrete gets tested for moisture — not a visual check, but actual measurement of vapor emission rates and in-slab humidity. If those readings are elevated, a vapor barrier system goes down before the epoxy. This single step prevents the majority of moisture-related failures, and it’s one that most DIY kits and some budget contractors skip entirely.
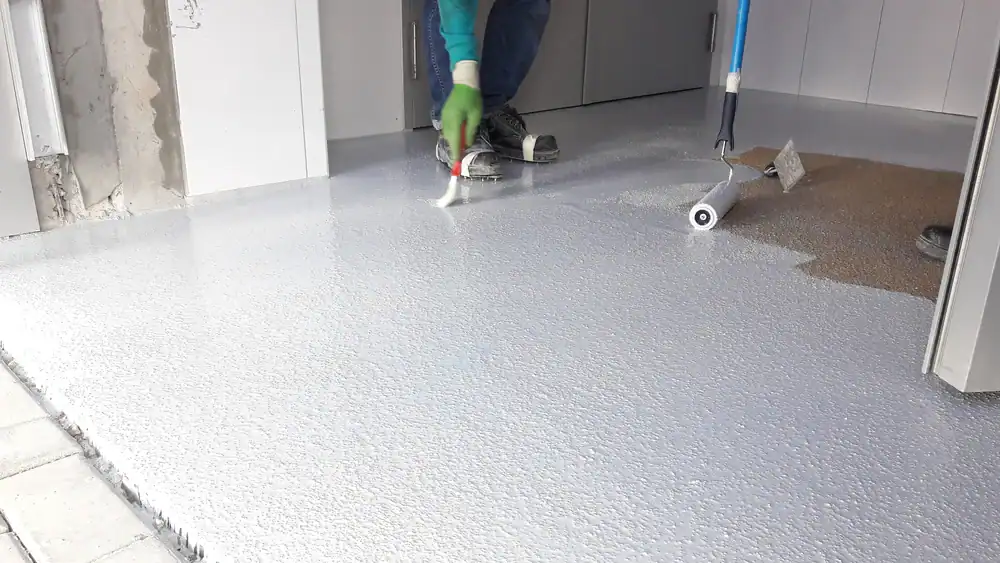
Surface preparation comes next, and it’s the most important part of the whole process. We diamond-grind every floor. That’s not a preference — it’s a requirement for a coating that bonds properly and stays bonded. Diamond grinding opens the concrete’s pores, removes contaminants and old sealers, and creates a surface profile that gives the epoxy something real to lock into. Acid etching doesn’t accomplish this. Light sanding doesn’t accomplish this. Diamond grinding does.
Once the surface is properly prepared and any moisture mitigation is in place, the coating system goes down in controlled conditions — temperature, humidity, and application thickness all managed carefully. Commercial-grade epoxy and polyaspartic systems cure harder, resist chemicals more effectively, and flex with the slab through Connecticut’s freeze-thaw cycles in ways that consumer-grade products simply don’t.
The result is a floor that can realistically last 15 to 20 years. We back that with a 10-year insurance-backed warranty on our premium system that covers delamination, moisture failure, and coating breakdown — not just the surface appearance. We also offer a 10-year insurance-backed warranty program, which means the coverage is backed by an insurance policy rather than just a contractor’s word. That distinction matters if you’ve already been burned once by a floor that failed and a contractor who wasn’t around to fix it.
Most residential garage floors are done in one to two days. Polyaspartic systems cure in hours. The disruption is minimal, and the floor you get at the end is built to handle whatever Hartford County’s winters throw at it.
If your epoxy floor coating is bubbling, the problem is real — but it’s also solvable. The key is understanding what actually caused the failure before deciding how to fix it, because the wrong repair approach just restarts the clock on the same problem.
Hartford County’s climate, soil conditions, and older housing stock make moisture management non-negotiable. A floor installed without moisture testing and proper surface preparation will fail. One installed correctly — with diamond grinding, a vapor barrier where it’s needed, and a commercial-grade coating system — will hold up through Connecticut winters for years.
If you’re ready to stop guessing and get a clear answer about what’s going on with your floor, we’re based right here in East Hartford and serve homeowners throughout Hartford County. Reach out and we’ll take a look at what you’re dealing with.
Summary:
Share: